How to calibrate your home theater LED screen for optimal picture quality?
Please make sure you have calibrated the LED screen of the home theater before using the home theater to enjoy wonderful video programs or game experiences. Calibration of the LED screen will allow the home theater to display the best picture quality. But you may be confused by these specialized technical issues. In this article, we will discuss with you how to calibrate the home theater LED screen and the specific steps for calibrating the LED screen.
Table of Contents
What is home theater LED screen calibration?
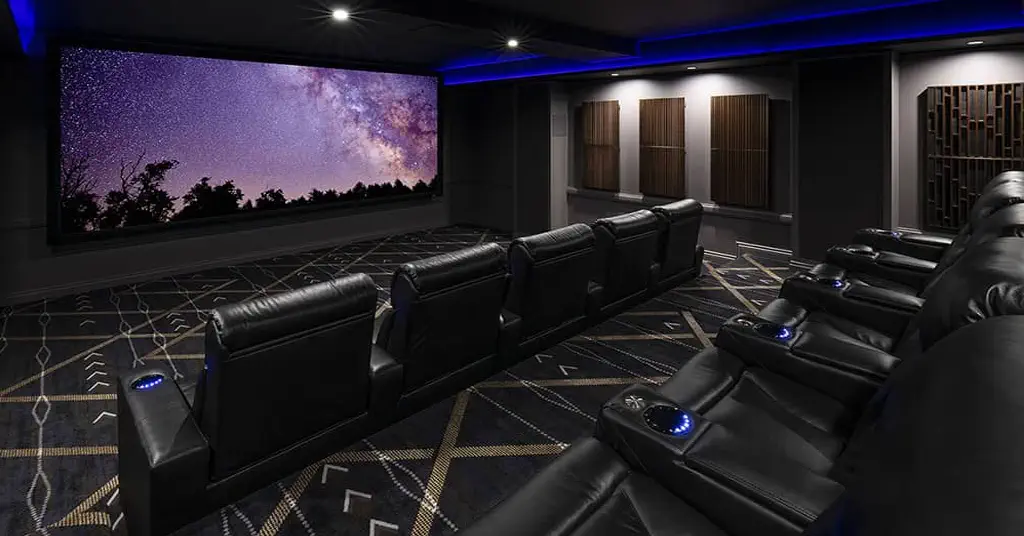
LED screen calibration is the process of ensuring consistent color display across all LED display panels on the entire home theater LED screen. During the manufacturing process of the LED screen, there may be color differences in the light-emitting pixels of the LED screen due to factors such as the manufacturing process, ambient light conditions, and the type of display content. The calibration goal of the LED screen is that there is no ripple on the entire home theater display, and all display colors are in a uniform temperature and white balance state.
Why do I need to calibrate my home theater LED screen?
The installation of a home theater is to allow people to enjoy professional audio-visual effects like a movie theater at home. The LED screen is basically calibrated before leaving the factory, but it is inevitable that there will be problems during transportation or during the installation of home theater projects. Uncalibrated or improperly calibrated LED screens will not only have hue shift but also different color bands. This poor viewing experience will make you very dissatisfied with the effect of the home theater.
In addition, the light-emitting pixels of the LED screen will seriously damage their service life under high-power and long-term working conditions. The use of this high power state is usually caused by the imbalance of LED screen brightness and color, which will increase your home theater energy consumption. Therefore, we need to calibrate the home theater LED screen to reduce your energy consumption loss and delay the service life. The most important thing is that your viewing experience can be greatly improved.
What professional tools are needed to calibrate a home theater LED screen?
There are many different professional tools that can be used to calibrate the LED screen of a home theater, the following are some of the more popular LED screen calibration tools for professionals.
- SpyderX Pro: SpyderX Pro is a popular calibration tool from Datacolor. It’s easy to use and gives you accurate test and calibration results
- 1Display Pro: i1Display Pro is another professional tool for calibrating LED screen launched by X-Rite. Compared with the SpyderX Pro, it can provide more functions, and the higher accuracy means a higher price.
- CalMAN: CalMAN is a very professional home theater LED screen calibration software, which can be used with a variety of hardware devices. Compared with the above two tools, CalMAN has more complex functions and also provides you with more professional calibration results.
If you don’t want to do such a professional operation, then run the built-in Windows 10 system after turning on the home theater, and use it to balance the consistency of the color and brightness of the LED screen. When using this built-in color correction tool, you need to adjust the gamma first, and then adjust the brightness and contrast.
How to calibrate your home theater LED screen?
The following are the specific steps to calibrate the home theater LED screen:
- Turn off all indoor lights that may affect the picture quality, and use blackout curtains to block the external light source.
- Set the brightness of the home theater LED screen to the highest brightness.
- Use the LED screen calibration disc or test pattern to adjust the contrast setting until you can see all the details in the darkest parts of the test image without losing detail in the brightest parts.
- Adjust the brightness settings of the entire home theater LED screen until the picture is not too bright or too dark.
- Adjust the color temperature of the LED screen to warm or neutral.
- Adjust the gamma setting to improve the overall contrast of the picture.
- Proper adjustment of sharpness, motion blur reduction, and noise reduction can help you improve picture quality if your home theater LED screen has these functions.
- Calibrate your home theater LED screen regularly to ensure your settings haven’t changed and are optimized for your individual needs and preferences.
Conclusion
Calibrating your home theater LED screen is one way to improve picture quality and give you a better viewing experience at an extra cost. Calibrating the LED screen of your home theater is not as difficult as you think. Following the steps in this article can calibrate the LED screen in a short time and improve the playback effect of your home theater.
Galaxyav is a professional home theater LED screen manufacturer, we have many years of professional experience in this field. If you would like more information on this, please contact us. We will provide free consultation and project quotation.
Want to know more about the Audio Visual Solutions?