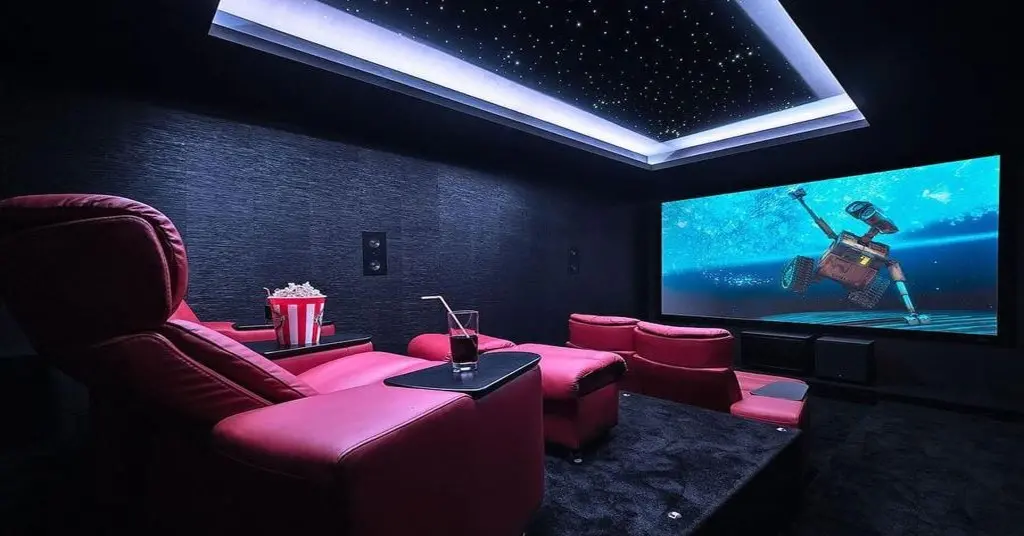
10 construction steps of home theater AV solution
Table of Contents

Step 1: Room Planning
The first step in creating a home theater AV solution is to plan the room. This includes determining the size and layout of the room, as well as identifying any potential challenges or limitations, such as windows or doors. It is important to consider the seating arrangement and the location of the screen and speakers in order to achieve the best possible viewing and listening experience.
Step 2: Room Acoustics
Once the room layout has been determined, it is important to consider the acoustics of the space. This includes identifying any potential acoustic issues and taking steps to address them, such as using acoustic panels or installing soundproofing materials. It is also important to choose the right type of flooring and seating to minimize acoustic reflections and improve sound quality.
Step 3: Audio System Selection
The next step is to select the right audio system for your home theater. This includes choosing the right type and number of speakers, as well as selecting the right receiver and amplifier. It is important to consider factors such as power output, impedance, and frequency response when selecting your audio system.
Step 4: Video System Selection
After selecting the audio system, the next step is to choose the right video system for your home theater. This includes selecting the right type of screen, such as a flat-screen TV or projector screen, as well as selecting the right resolution and aspect ratio. It is also important to consider factors such as contrast ratio and color accuracy when selecting your video system.
Step 5: Room Wiring
Once the audio and video systems have been selected, it is important to plan and install the wiring for the home theater. This includes running the necessary cables for the audio and video systems, as well as any necessary wiring for automation systems or lighting control.
Step 6: Audio System Setup
After the wiring has been installed, the next step is to set up the audio system. This includes installing the speakers and amplifier, as well as configuring the receiver to ensure optimal sound quality. It may also be necessary to adjust the positioning of the speakers in order to achieve the best possible sound.
Step 7: Video System Setup
Once the audio system has been set up, the next step is to set up the video system. This includes installing the screen or projector, as well as configuring the resolution and aspect ratio. It may also be necessary to adjust the positioning of the screen or projector in order to achieve the best possible image quality.
Step 8: Automation System Setup
In addition to the audio and video systems, it may be necessary to set up an automation system to control lighting, temperature, and other aspects of the home theater environment. This includes installing and configuring the necessary equipment, as well as programming the automation system to respond to user input.
Step 9: Final Testing and Calibration
Once all of the systems have been installed and set up, it is important to perform final testing and calibration to ensure optimal performance. This includes testing the audio and video systems, as well as calibrating the systems to achieve the best possible sound and image quality.
Step 10: Enjoyment and Maintenance
The final step in creating a home theater AV solution is to enjoy the system and perform regular maintenance to ensure optimal performance. This includes cleaning and dusting the equipment, replacing any worn or damaged components, and performing regular system updates and upgrades to keep the system running smoothly
If you would like to learn more about home theater AV solutions or would like to see Galaxyav’s success stories for home theaters, please contact us. We will give you more information about home theater hardware and software systems, as well as a free quote for home theater AV solutions.
Others also read the following article
Want to know more about the Audio Visual Solutions?
