How to Properly Install Your Home Theater LED Screen?
The installation of a home theater LED screen is a professional and complicated matter. How to install LED screen correctly so that you can enjoy cinema-like audio-visual effects at home is a question worth pondering. In this article, we will walk you through the entire process of properly installing a home theater LED screen. From choosing a mounting location to calibrating your LED screen, we’ll cover everything you need to know.
Table of Contents
Choose a suitable installation location
Room size
The size of the room directly affects the installation of the home theater LED screen. Home theater is a complete audio-visual integrated system, including audio equipment, display equipment, signal transmission and other major parts. The small size of the room is not conducive to the installation of the LED screen, and the LED screen with a small area cannot give you a shocking visual experience.
Effect of ambient light
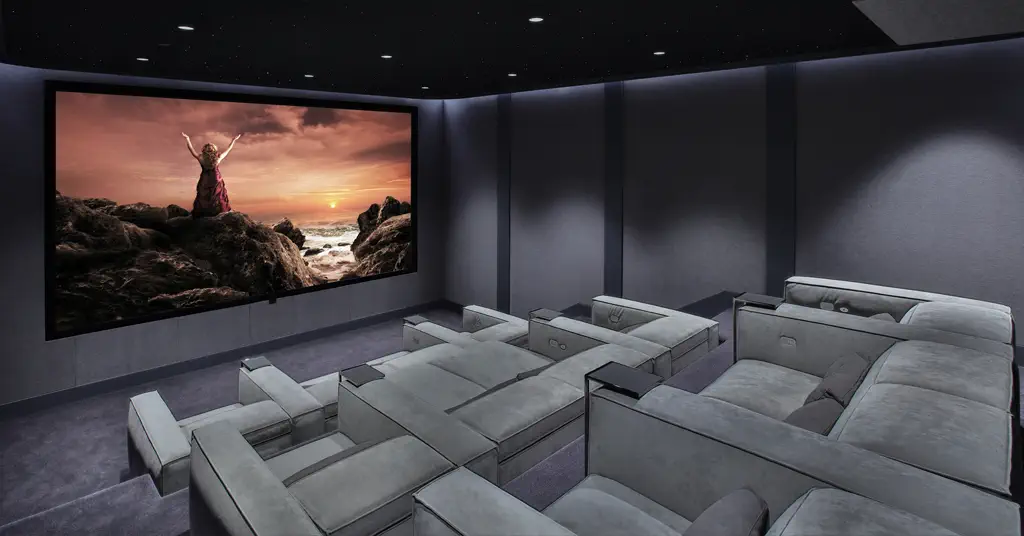
Although the LED screen displays film and television content through self-illumination, the viewing effect will be affected when the external light directly hits the screen. Usually, when installing a home theater LED screen, you will choose to stay away from windows or avoid direct sunlight on the LED screen from indoor lights.
Adjustment of viewing distance
Home theater LED screens of different sizes have different optimal viewing distances. Usually we multiply the diagonal size of the LED screen by 1.5 to 2.5 to determine the best viewing distance. Assuming that the diagonal distance of the LED screen is 2 meters, then the best viewing distance of the home theater is between 3 meters and 5 meters.
Correctly install the LED screen
Install Dowel Studs
The LED screen needs a solid mounting frame to work properly on the wall. Install the positioning studs on the wall according to the installation positioning holes on the back of the LED screen. You can use a laser level to ensure that the entire LED screen is kept in a horizontal state, so as not to affect the viewing experience due to the tilt of the screen.
Measure and Mark
Measure and mark the desired height and position of your LED screen on the wall, double checking your measurements for accuracy.
Fixed LED screen
Follow the factory instructions of the LED screen to install the LED screen firmly on the bracket step by step. Do not install at will to avoid unnecessary losses. If the factory instructions of the LED screen are not exhaustive, you can seek professional help.
Connect an audio system
Connect audio equipment such as speakers or a sound bar to your home theater system. Make sure the audio cables are connected properly to provide the best sound quality.
Connect video playback source
Connect your video playback source, such as Blu-ray player, game console or streaming media device to your LED screen. Use a high-quality HDMI cable for a better video viewing experience.
Cable management
Use cable solutions such as clips or sleeves to organize cables. This allows for efficient management of cable clutter and avoids the risk of tripping over cables.
Calibrate the LED screen
Display setting
Open the settings menu on the LED screen and adjust the picture settings to your liking. Options such as brightness, contrast, color saturation and sharpness can be fine-tuned to optimize the viewing experience
Color calibration
Use calibration tools such as color filters or calibration discs to achieve accurate color performance. This ensures your LED screen displays the true colors of your content.
FAQs About install home theater LED screen
The installation process can vary depending on factors such as the complexity of your setup and your familiarity with the equipment. On average, it may take a few hours to complete the installation.
Yes, you can certainly install a home theater LED screen yourself. The process is relatively straightforward, and with proper guidance, you can achieve professional results. However, if you’re unsure or uncomfortable with the installation process, it’s always recommended to seek assistance from a professional installer to ensure a safe and accurate setup.
While basic household tools are usually sufficient for the installation, there are a few specialized tools that can make the process easier. These may include a stud finder, a level, a power drill, and cable management solutions. Having these tools on hand can streamline the installation process and ensure a clean and organized setup.
Hiring a professional installer can be beneficial, especially if you’re uncertain about the technical aspects of the installation or if you want a more complex setup. Professionals have the expertise and experience to handle the installation efficiently and provide customized solutions based on your requirements.
Others also read the following article
Want to know more about the Audio Visual Solutions?